On our recent 3,200 kms (One direction) sojourn to South Luangwa, Zambia, we purposely planned an overnight stop-over in Kasane (North-east Botswana).
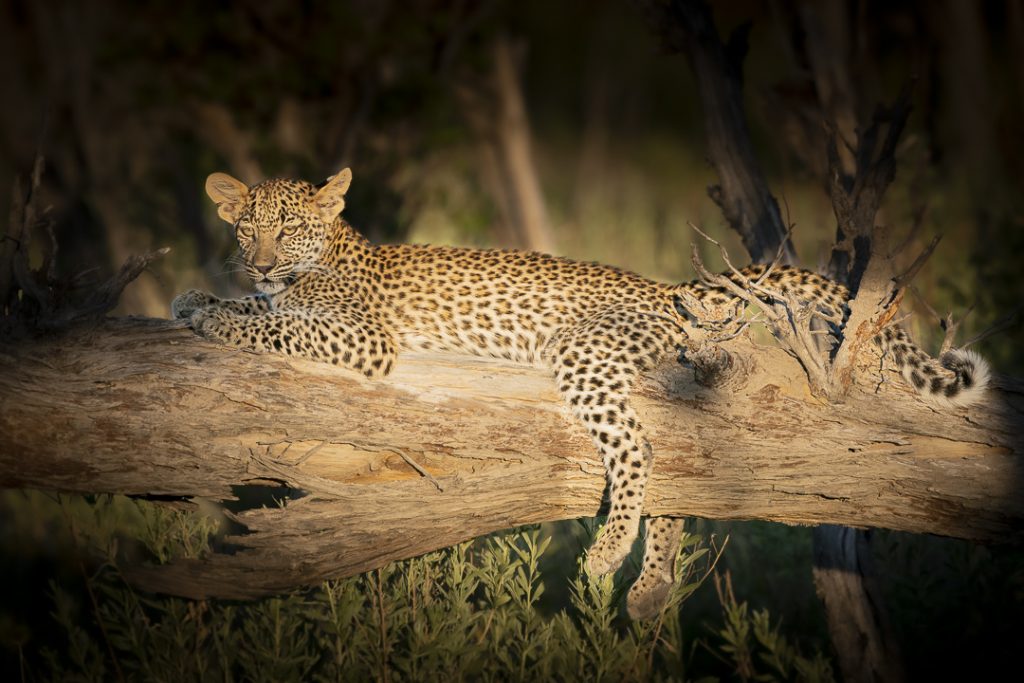
Not only was it a convenient place to take some well-earned rest after 2,000 kms of driving, it was also an opportunity to enjoy an afternoon boat ride up the Chobe River, and get up close and dirty with elephants, and other random wild animals in the area.
I chartered a small five-seater boat powered by a single 50 hp outboard motor, supplied with its own skipper, and managed to get ahead of all the other slow-moving, floating “Gin Palaces” before they set off on their afternoon game viewing cruise (aka: Large tourist barges which are capable of carrying up to 100 people )
Running up-stream from Kasane means travelling westwards, and directly into the afternoon sun, so we decided to run non-stop to where the Chobe River bends in an easterly direction, then systematically work our way home to Kasane, with the setting sun at our backs.
About half way, a well-known calcium deposit can be found just where elephants like to stand in the shallows of the Chobe River, and slake their parched thirsts, while some elephants self-medicate by eating, and showering themselves in the calcium, which makes for some well-timed, interesting photographic opportunities, if you can time it right.
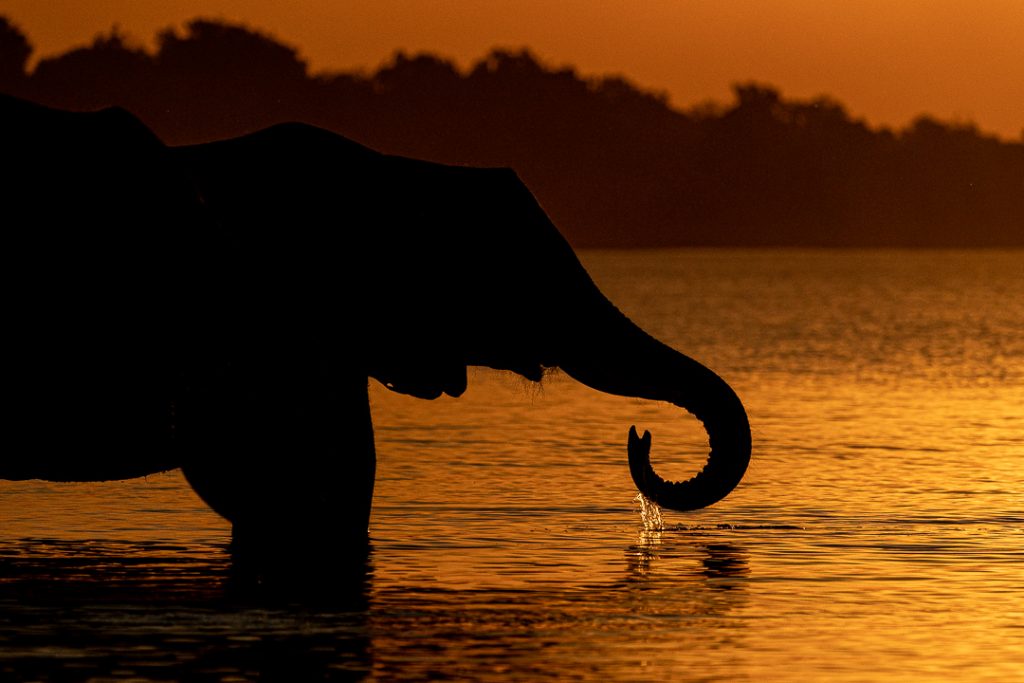
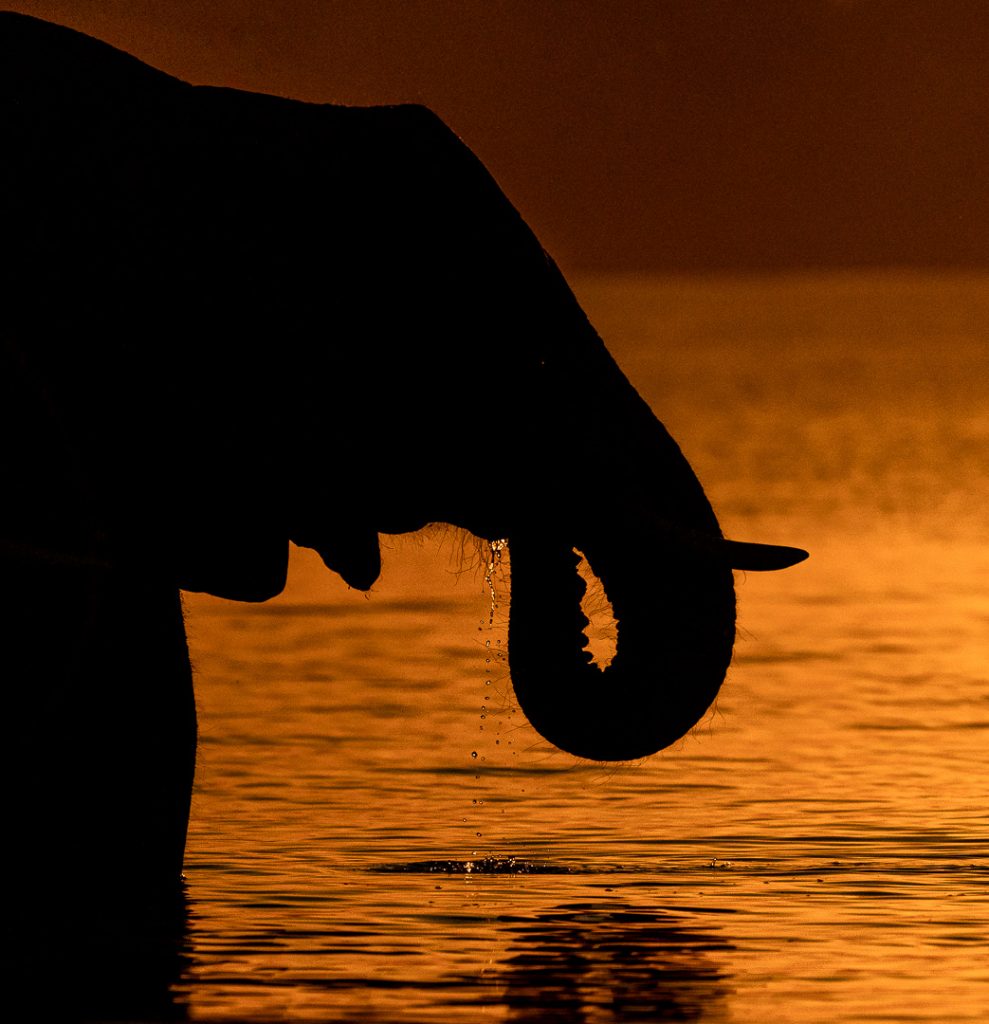
The afternoon sun was warm, and cast a golden glow, but it never lasted more than a short while before we found ourselves, pulled up on the river bank, with elephants all around us, and wishing for more light!
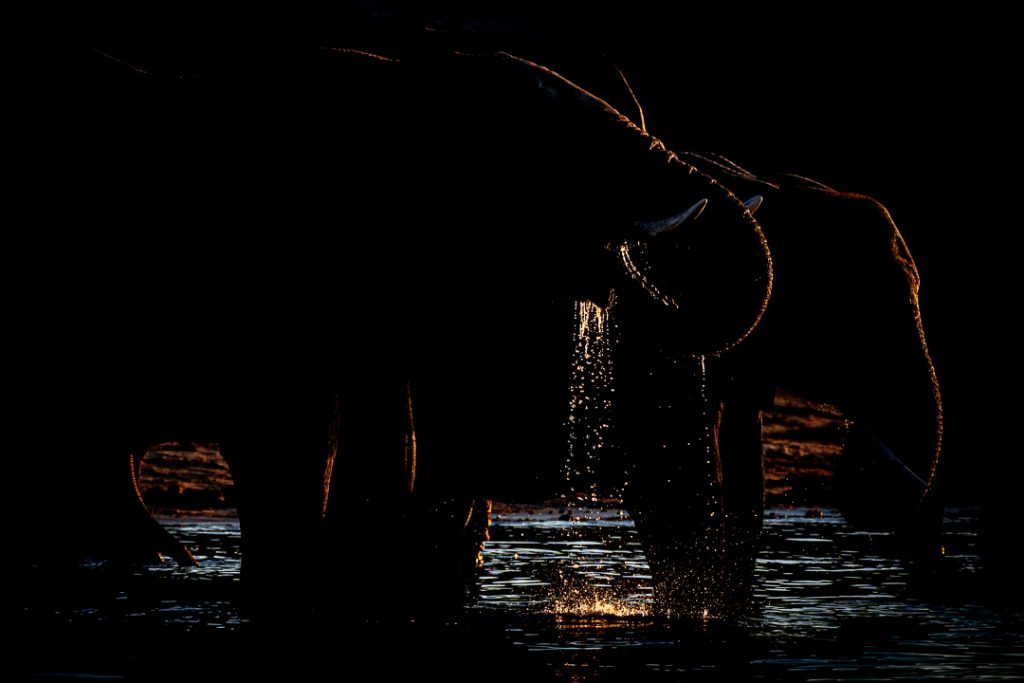
We were confronted with two options to either pack up and return to base at Kasane empty-handed, or to think outside the box, and shoot the existing / fading light available. As there was insufficient light to show any detail of the majestic elephants, drinking noisily next to us, I went for broke and decided to shoot whatever light there was available.
The latest EVF mirrorless equipment offers many advantages in such situations. Primarily, the ability to use the live histogram in conjunction with the EVF live view, to adjust the aperture and the shutter speed until I could see what the finished image would look like, leaving me to simply hit the shutter release…. It was actually really that simple.
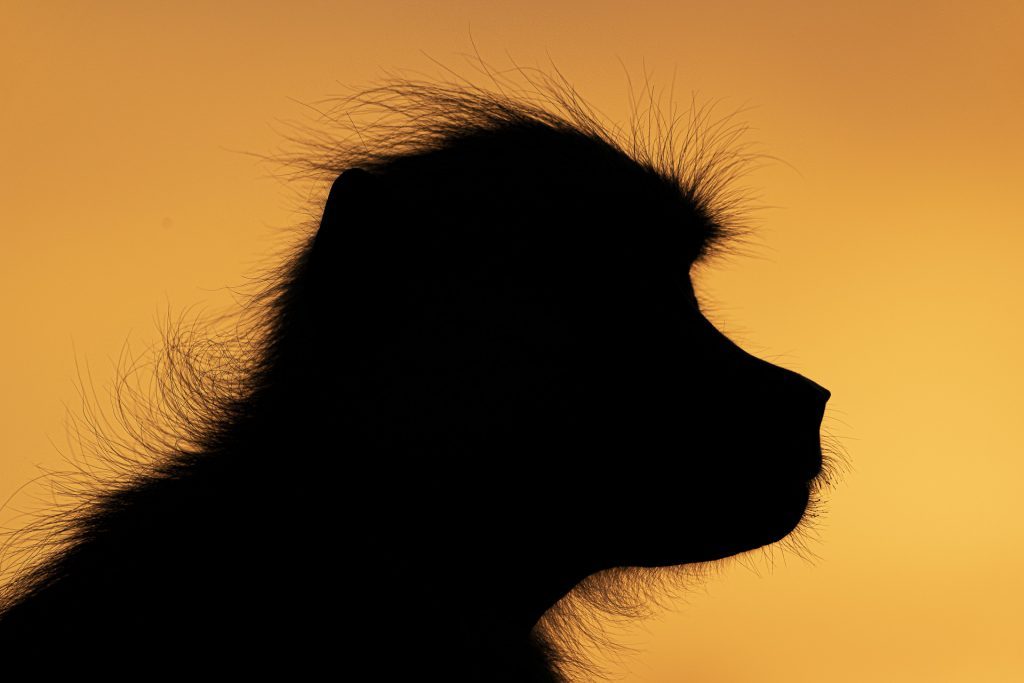
Reviewing the images later, I was excited to confirm that this “back-to-the-wall” situation had literally forced me to see with new eyes, and to shoot the available, ambient light, rather than using the more traditional method of trying to capture an image, displaying the discernible details of the actual subjects being photographed. IE: Seeking the light, then allowing the resultant image to materialise around that particular light.
Portrait and studio photographers have the luxury to choose the mood, set specific lighting conditions under contrived conditions, subject to where they strategically place the light source. Not to forget the co-operation of the model to pose on command.
However, out there in a wilderness environment, working only with the ambient light, and “in the moment”, you have no control over the light, subject, foreground, background or distracting branches, grass or other less significant animals in the way! You are forced to grab the opportunity in the moment, a clear angle (If possible), and make fast setting adjustments while keeping your face to the viewfinder all in the attempt to capture a precise, magic moment.
It sounds daunting in theory, but there are ways to mitigate missing, and give yourself every chance to capture that one magical moment!
Some basic tips:
1) Know your equipment very well, and be able to change the main settings while keeping your face to the viewfinder. You will NOT be able to do this if you just pick up your camera every now and again when you feel like shooting. This takes regular, concerted practice.
2) Know how far you can safely push the ISO rating of your camera. Set AUTO ISO, and cap the ISO speed to that maximum. But know how to change it speedily, if required.
3) Shoot in RAW, set AUTO White Balance (AWB), and leave it set just like that permanently.
4) Set a continuous frame rate (AF-C), and always shoot a multiple frame rate in short bursts. Animals and people blink and move without warning. Multiple frames of the same scene will help greatly to capture that magic moment.
5) Set your camera in “Sleep mode”, and keep it turned on at all times while shooting or moving around, looking for action.
6) Shoot in MANUAL mode only. No further discussion.
7) Predetermine and set your aperture according to how close / far you are to the subject. This will simply leave you to concentrate solely on the shutter speed adjustment only.
8) Disable the replay facility, as it is distracting. If you want to chimp, you can call up the last image quite easily, zooming in at the touch of a button if needed.
9) Know the feel of your shutter speed control, and practice scrolling quickly to select the optimum shutter speed. It doesn’t matter if you over / undershoot a few stops because your viewfinder should indicate what looks right, according to the histogram displayed in the viewfinder.
10) In changing light, constantly take a test shot of where you would estimate the potential action would be, regardless if there is a subject or not. Looking at a sample shot, on a regular basis will help you to get a good “feel” for the right shutter speed when needed, which means that you will confidently shoot in short bursts, knowing that your metering is pretty close. *Slight deviations of metering are easily fixed in post editing by adding or subtracting exposure.
11) Always use a lens hood; remove the lens cap, and keep it in your pocket. Insert a large enough lens cloth into the lens hood cavity so all you have to do when wanting to capture and image, is grab the lens cloth with your left hand and hold it, while supporting the lens with the same hand. *The lens will always be clean and very quick to access. (NOTE: I use a piece of Sea-to-Summit, Micro Towel cut to a size which fits snugly into the lens hood cavity without falling out. Micro Towels come in different sizes, so buy the largest then cut the required size to suit your need. They can be purchased from your local outdoor shop, motor spares store, or on line.)
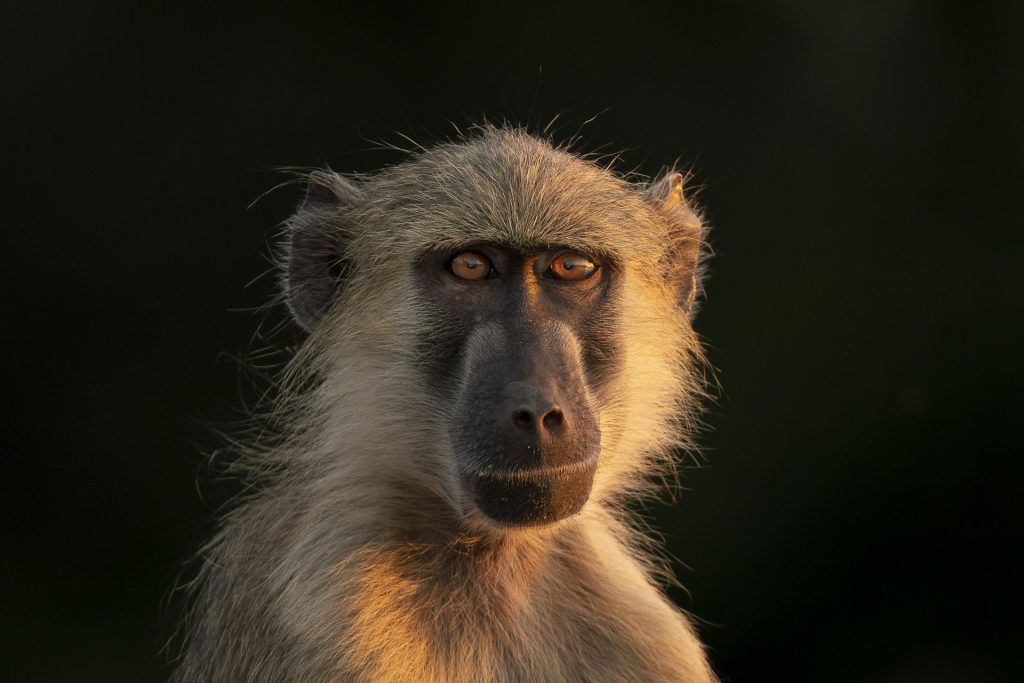
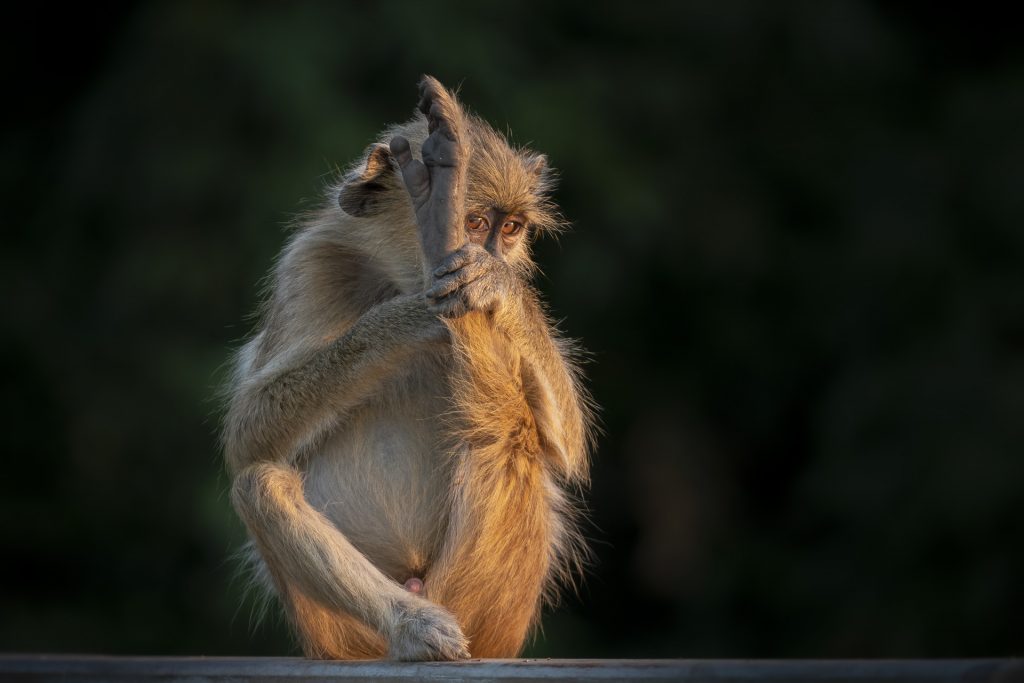
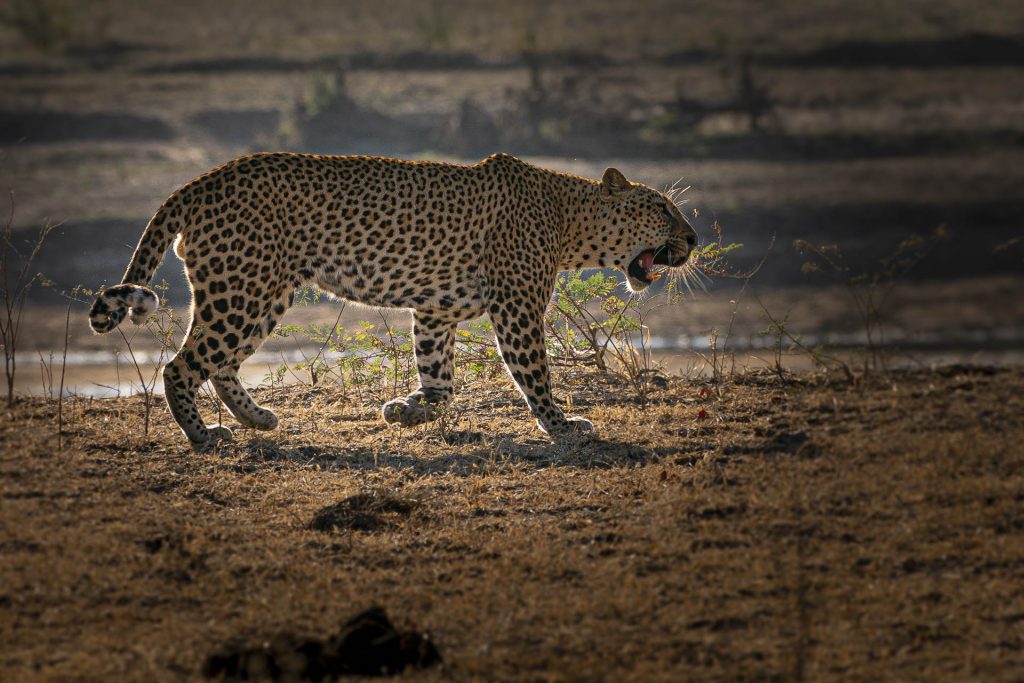
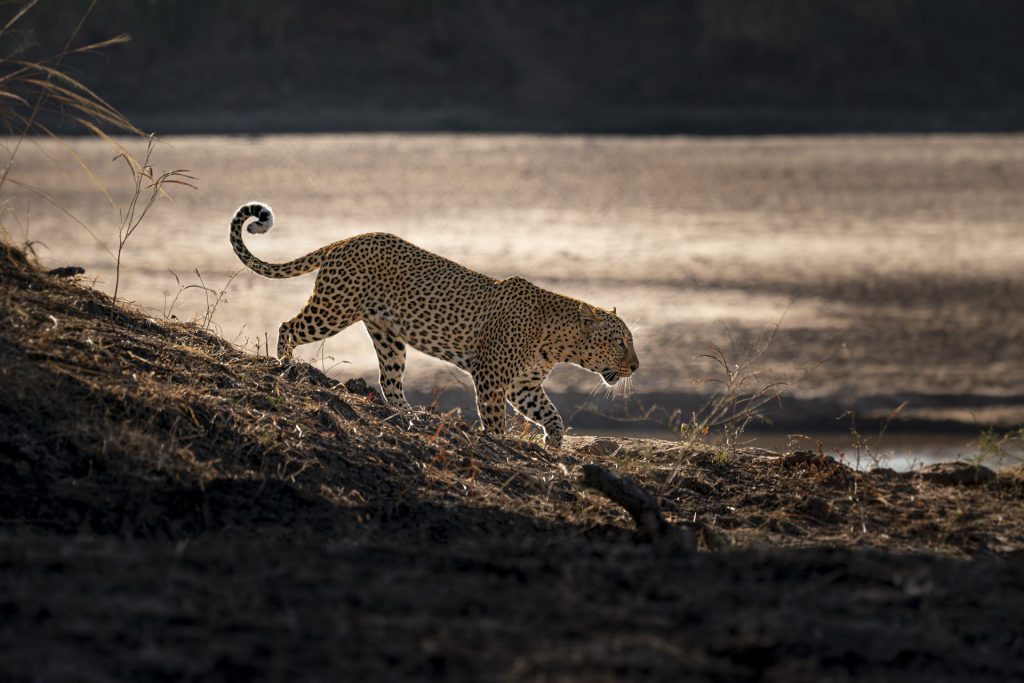
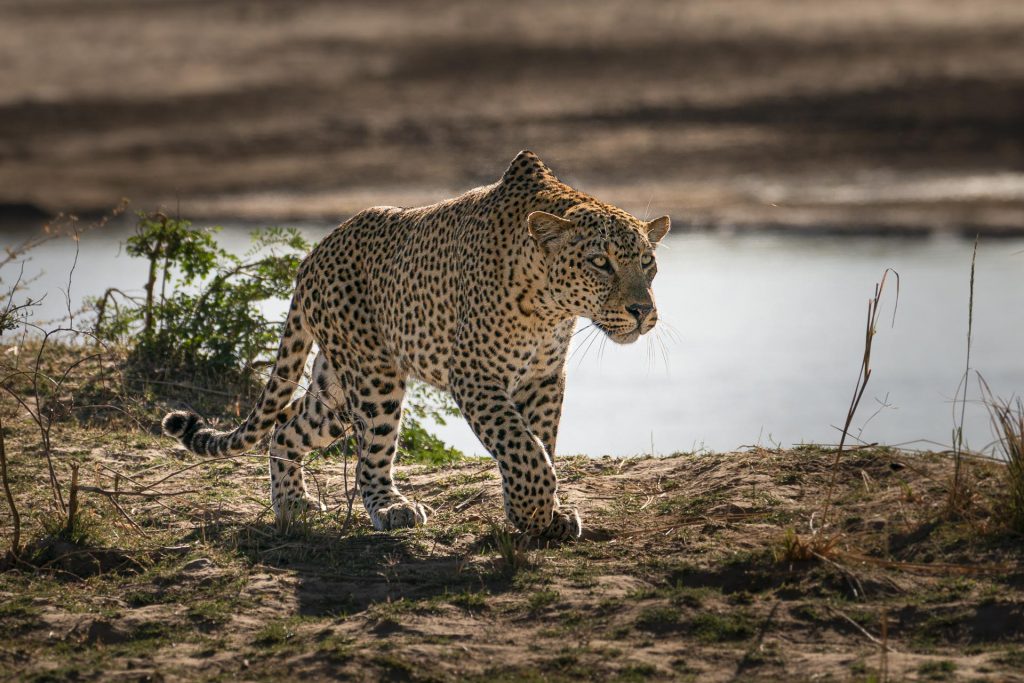
During the rest of the sojourn to Zambia, I found myself challenging various light conditions which I would previously have shrugged off and not even attempted. I had some good success shooting directly into the sun, or at angle that yielded some great rim and backlight images.
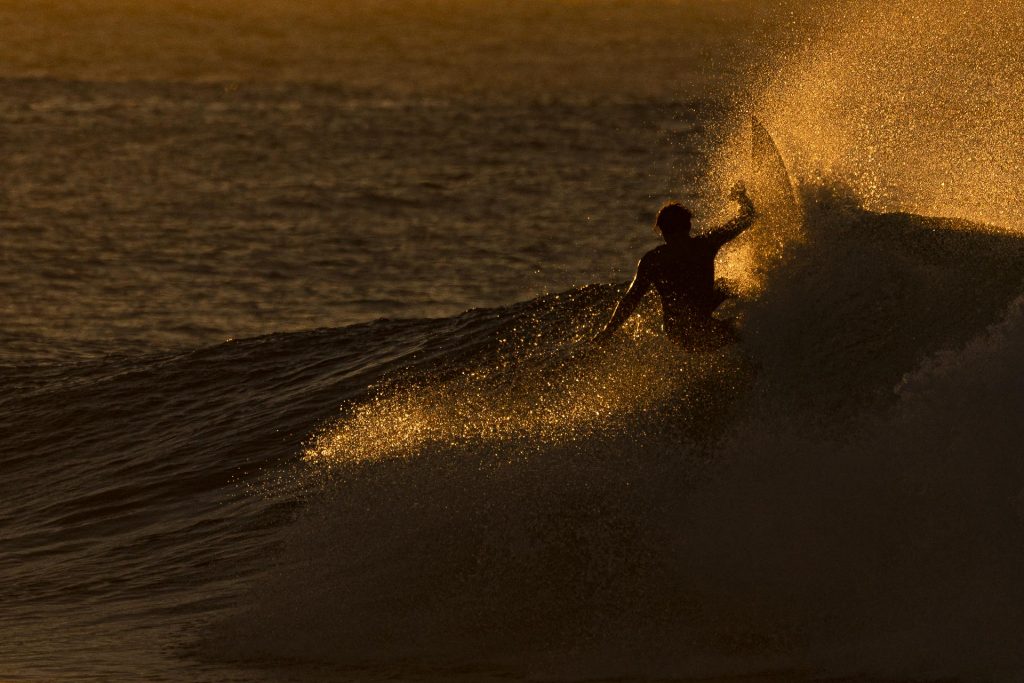
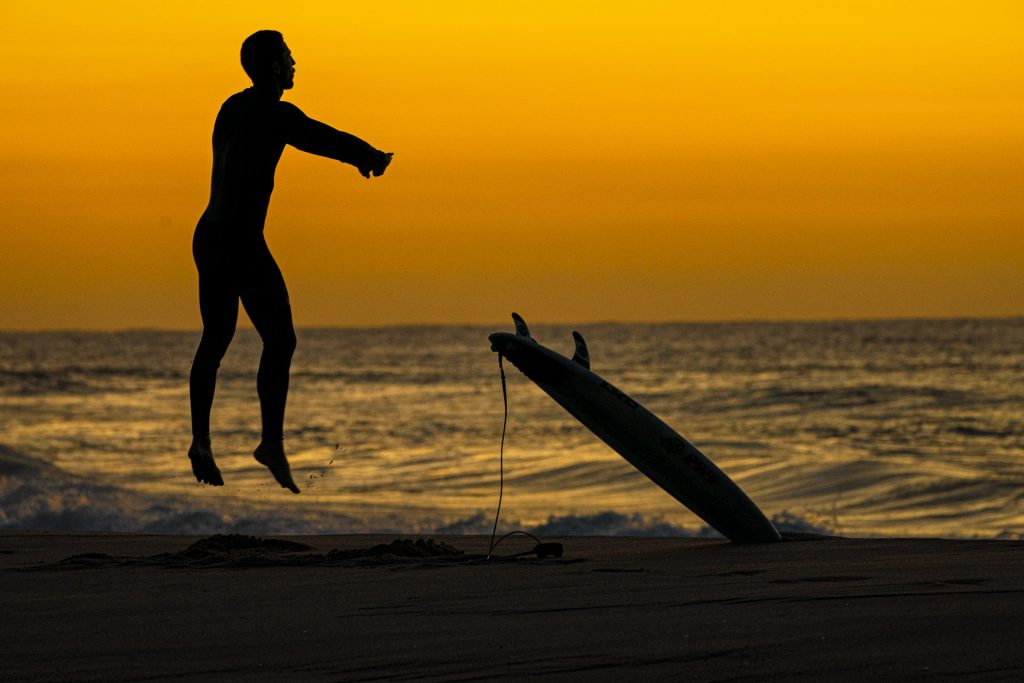
On my return back to our home in South Africa, I had an immediate assignment to cover the 2019 O’Neill Ballito Pro international surfing competition Rather different from shooting wildlife in wilderness areas, yet I still found myself “looking for light” under difficult light conditions. Especially as I was on the beach well before the eastern sky started to get light.
Well before the traditional surfing photographers all arrived in sunlight to shoot the heats, I was on the beach, standing in the shore break, positioned as low as I could get to the horizon, to capture the silhouettes of the surfers who braved the almost dark conditions enjoy a pre-contest surf.
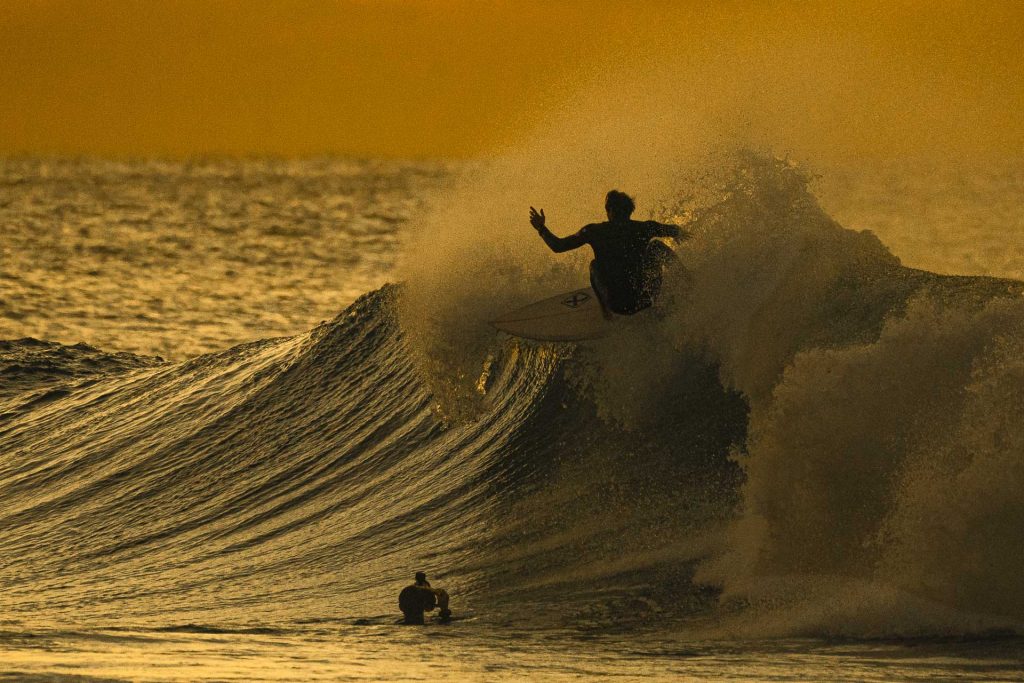
The lack of suitable or preferable light during the preceding six weeks had taught me to challenge difficult lighting conditions, and adapt my thinking… Shooting the light has now become my primary consideration when approaching a photographic assignment.